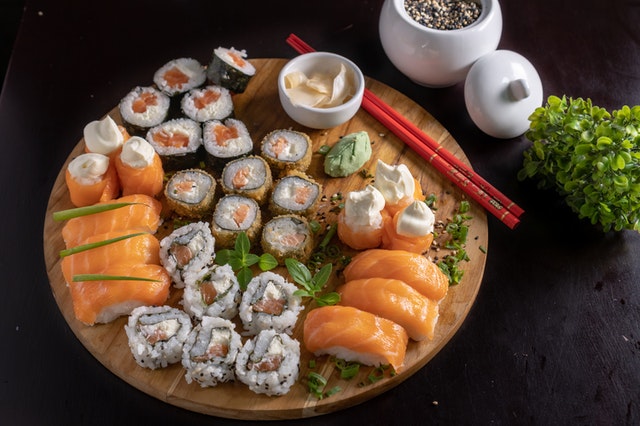
Sushi Plate
- sushi rice (Nishiki is my brand of choice!)
- a bamboo mat (example)
- plastic wrap
- nori (seaweed sheets)
- low-sodium soy sauce
- toasted sesame seeds and/or chia seeds
- sriracha chili sauce
- wasabi + pickled ginger (optional but yummy!)
You can pick up your staples at your local asian food market or in your grocery store’s international food aisle. Nearly every store I’ve been to carries all the above ingredients and some even arrange them next to the store-made sushi for easy stock-up! Sweet!
Once you have your pantry staples, all you’ll need is some fresh produce!
STEP 1 – MAKE THE RICE:
Combine 1+1/2 cups of rice with 2 cups of water in a medium sized pot and bring to a boil. Once the water begins to boil, reduce heat to low and cover. Let the rice simmer for 20 minutes, stirring every 5 minutes or so. Remove from heat after 20 minutes but let the rice stand, covered, for 10 minutes or so to ensure that the rice is fully cooked. The best way to ruin the sushi is to roll it in crunchy rice. I have TOTALLY done this before — whoops! A taste test will ensure that your rice is perfectly fluffy.
Feel free to use a rice cooker or (click here) for shortcut sushi in under 2 minutes; quinoa also makes an excellent substitute for rice!
Cooking the rice is the only time-consuming part of the entire process. While it cooks, save time by prepping your fish, veggies, and sauces!
STEP 2 – SEASON THE RICE:
If you don’t already own rice vinegar, feel free to opt for the pre-seasoned variety to save yourself a step. If you already have a bottle of rice vinegar or have white vinegar on hand, simply season with salt and vinegar to taste. For the rice measurements above you’ll need 1/3 cup of seasoned rice vinegar or 1/3 cup of vinegar seasoned with one teaspoon of sugar and 1/2 teaspoon of salt. Pour over your rice, fluff with a fork, and taste. Adjust salt/sugar as desired. Remove rice from heat, add to a bowl and cover with a paper towel.
STEP 3 – JULIENNE YOUR VEGGIES:
While the rice cooks + cools – prep your veggies! Slice vertically into matchsticks and set aside. Once the rice is done you’ll be ready to roll!
STEP 4 – WRAP IT UP:
To avoid messy clean-up and scrubbing, wrap your bamboo mat in plastic wrap. Lay a sheet of nori on top and grab your rice!
STEP 5 – INSIDE-OUT OR OUTSIDE-IN:
The two most popular techniques are inside-out rolls with rice on the outside or rolls wrapped with nori on the outside and rice on the inside.
Since it’s easiest to make rolls with seaweed on the outside, that’s what we’ll start with for this homemade sushi tutorial! Grab a spoon and spread a thin layer of rice on the seaweed sheet. For large rolls, add an extra layer. I like my pieces bite-sized, so I add a thin layer and leave a little extra space at the end. Totally up to you!

